Helios Rust Console Bot Documentation
Discord Tools
Welcome members, offer reaction roles, schedule announcements, and publish useful Discord panels.
- Last reviewed
- Maintained by
- Helios RCE
Open your server in the dashboard, then choose Discord. Check the selected channel before publishing.
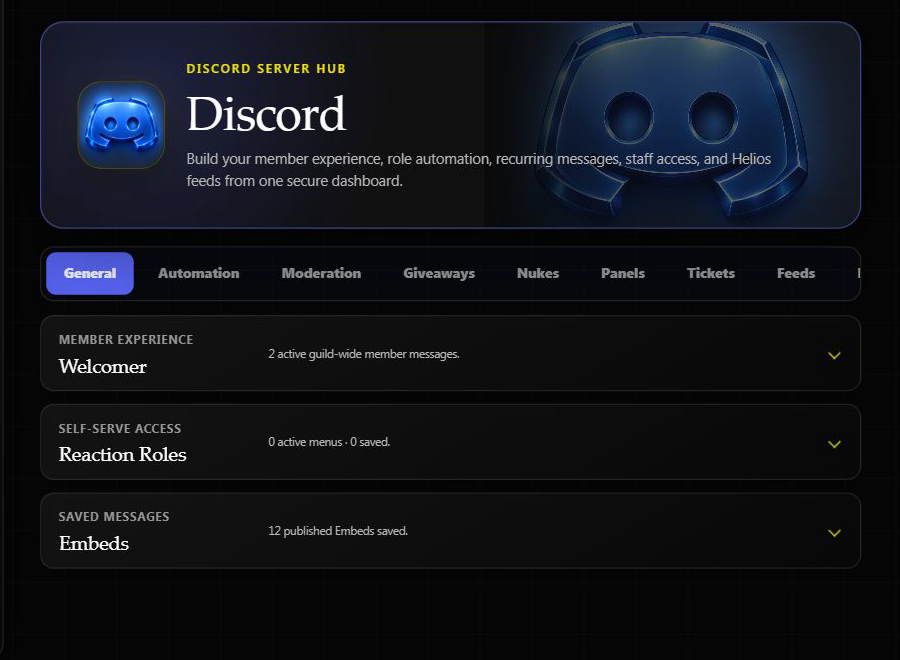
The hub has nine sections: General, Automation, Moderation, Giveaways, Nukes, Panels, Tickets, Feeds, and Live.
Welcome members
Open General → Welcomer, create a message, and choose when and where it should appear. Use the editor's available placeholders to personalize it. Preview before saving.
Example: Welcome new members and point them to your rules and account-linking instructions.
Let members choose roles
- Open General → Reaction Roles → Create Reaction Role.
- Name the setup and choose its Discord channel.
- Write a message and add an emoji and role for each choice.
- Choose the behavior below, then click Publish Reaction Role.
| Behavior | What members experience |
|---|---|
| Standard | React to add the role; remove the reaction to remove it. |
| One choice | Keep only one role from this menu at a time. |
| Verify | Receive the role after reacting; removing the reaction does not remove it. |
Example: Offer Raid Alerts and Event Alerts using Standard mode. Helios needs Manage Roles, and its role must sit above the roles it gives. Published menus cannot move channels; create a new menu if the destination changes.
Give or restore roles automatically
Open Automation → Auto Roles. Choose up to 10 roles, whether they apply to people or bots, and an optional delay in seconds. Click Save Auto & Sticky Roles.
Enable Sticky Roles → Reassign to restore eligible saved roles when a member rejoins. Add roles you never want restored to Blacklisted Roles. Turning Sticky Roles off clears its saved role snapshots.
Answer common questions
Open Automation → Triggers → Create Trigger. Enter matching words or phrases, choose a match type and channel scope, then write the reply and click Save Trigger.
Example: Match the whole phrase how to link and reply with your linking instructions. Set a 30-second per-member cooldown. Helios ignores bots and webhooks and uses the first matching trigger.
Schedule Discord announcements
- Open Automation → Autofeeds → Create Autofeed.
- Choose the channel, first send date and time, and time zone.
- Set Repeat Every (Hours):
24for daily or168for weekly. - Write the message, optionally select a role to ping, and click Save Autofeed.
Send Test posts to the selected Discord channel. Discord Autofeeds use hours; the separate in-game Auto Messages tool has its own controls.
Publish information panels
Open Panels and create a panel. Choose PvP Leaderboard, Online Hours Leaderboard, Nuke Leaderboard, or Live Players, then choose a channel. Set the server scope and time zone where offered. Open the published message to check that players can see it.
For a one-off announcement, use General → Embeds to create and maintain a saved Discord embed.
Choose the right online-player display
| What you want | Use this |
|---|---|
| Check who is online right now | /whoson, with a game server selected. It posts a one-time reply with names. |
| Show a count in the Discord sidebar | Live Player Count Channel. Helios updates a dedicated channel's name. |
| Keep a player display inside a channel | Panels → Live Players. Publish it to the channel where members should read it. |
Each tool has its own setup. A /whoson reply does not create a counter or an updating panel.
Announce live streams
Open Live to follow a TikTok or YouTube creator, choose an announcement channel, and optionally ping a role. Discord Live Alerts explains the preview, test message, and platform timing limits.